
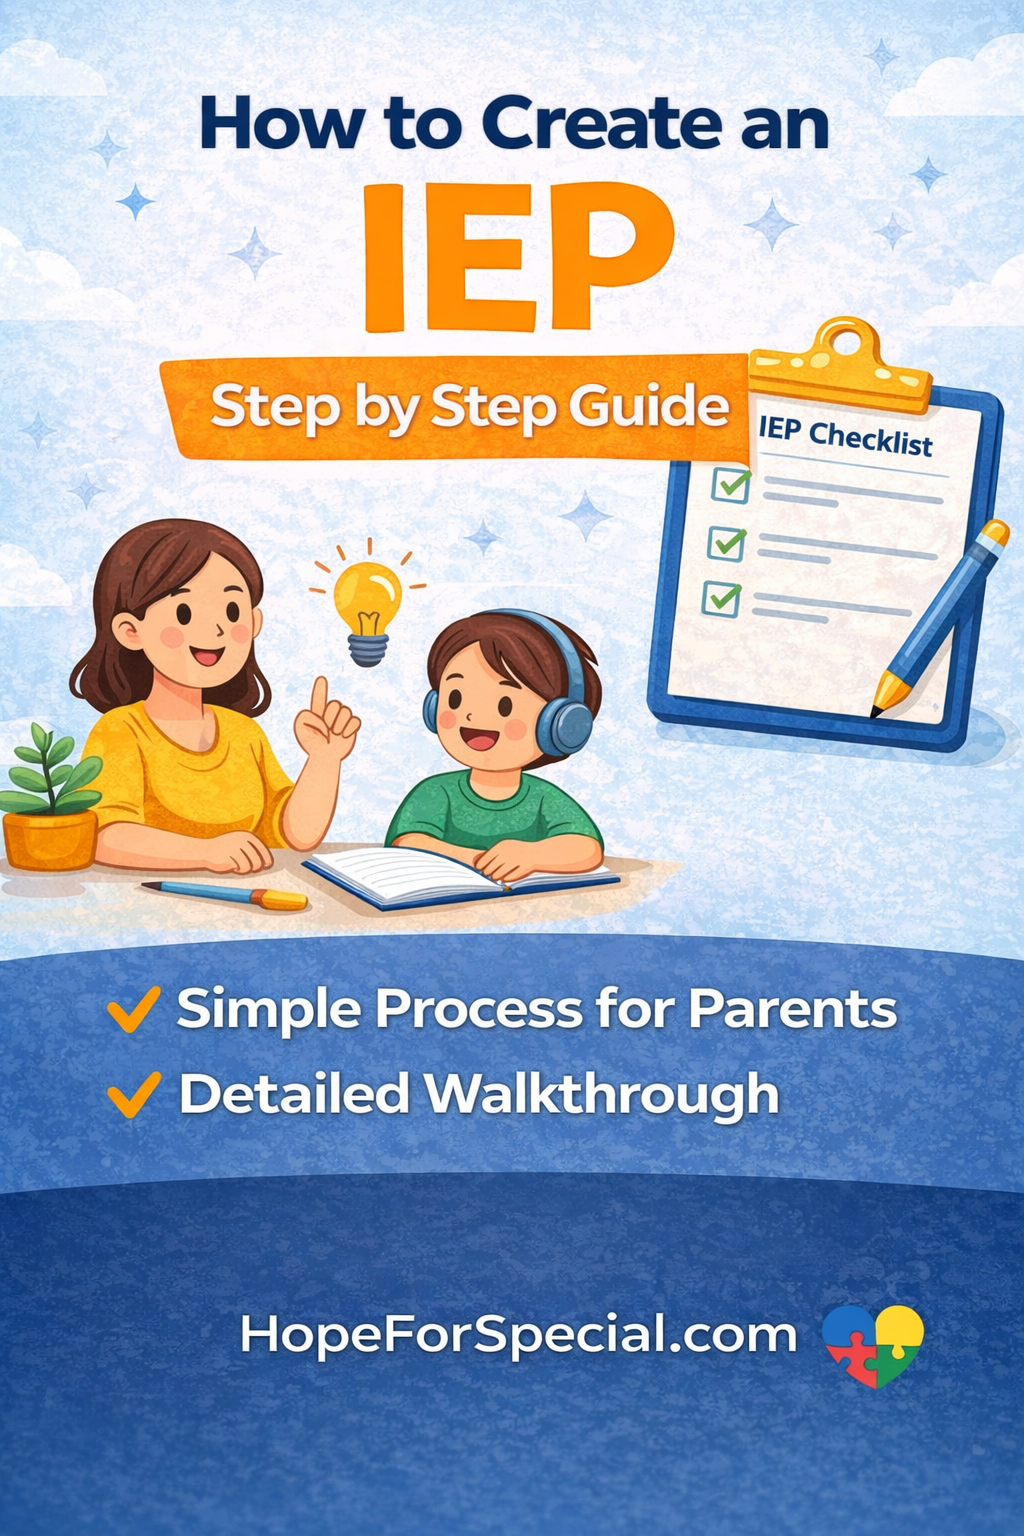
How to Create an IEP Step by Step Guide (2026 Complete Parent Guide)
Creating an Individualized Education Program (IEP) can feel overwhelming at first. There are meetings, documents, and decisions to make.
However, once you understand the process, it becomes much easier.
This guide will walk you through how to create an IEP step by step in simple language. It is designed for parents, caregivers, and beginners.

- What Is an IEP?
- Who Needs an IEP?
- Why an IEP Is Important
- Step 1: Identify Concerns
- Step 2: Request an Evaluation
- Step 3: Review Evaluation Results
- Step 4: Determine Eligibility
- Step 5: Attend the IEP Meeting
- Step 6: Set Measurable Goals
- Step 7: Decide Services and Support
- Step 8: Choose Accommodations
- Step 9: Decide Placement
- Step 10: Review and Approve the IEP
- Step 11: Start Implementation
- Step 12: Monitor Progress
- Step 13: Review the IEP Annually
What Is an IEP?
An IEP (Individualized Education Program) is a written plan for a child with special needs.
It outlines:
- Learning goals
- Support services
- Accommodations
The purpose is simple:
👉 To help your child succeed in school.
According to the U.S. Department of Education, an IEP ensures that children with disabilities receive a free appropriate public education (FAPE).
https://sites.ed.gov/idea/

Who Needs an IEP?
Children who qualify under special education laws may need an IEP.
This includes children with:
- Autism
- ADHD
- Learning disabilities
- Speech delays
Eligibility is based on evaluation results.
Experts explain that eligibility depends on how the disability affects learning.
https://www.parentcenterhub.org/eligibility/
Why an IEP Is Important
An IEP provides:
✔ Personalized learning
✔ Clear goals
✔ Support services
✔ Progress tracking
Research shows that structured education plans improve outcomes for children with disabilities.
https://ies.ed.gov/ncee/wwc/
How to Create an IEP Step by Step Guide
Now let’s go step by step.
Step 1: Identify Concerns
First, notice if your child is struggling.
Look for signs like:
- Difficulty learning
- Behavior challenges
- Communication issues
Then, write down your concerns.
👉 This is your starting point.
Step 2: Request an Evaluation
Next, request a formal evaluation from your child’s school.
You can:
- Write a letter
- Send an email
The school will assess your child’s needs.
According to the CDC, early evaluation helps children receive support sooner.
https://www.cdc.gov/autism/diagnosis/index.html
Step 3: Review Evaluation Results
After the evaluation, the school will share results.
These may include:
- Cognitive tests
- Behavior assessments
- Academic performance
Take your time to understand everything.
👉 Ask questions if needed.
Step 4: Determine Eligibility
The IEP team will decide if your child qualifies.
This decision is based on:
- Diagnosis
- Learning impact
If eligible, the IEP process moves forward.
Step 5: Attend the IEP Meeting
Now comes the IEP meeting.
Participants include:
- Parents
- Teachers
- Specialists
You are an equal member of the team.
👉 Your input matters.
Step 6: Set Measurable Goals
This is one of the most important steps.
IEP goals should be:
✔ Specific
✔ Measurable
✔ Achievable
✔ Relevant
✔ Time-bound
Example:
❌ Improve reading
✔ Read grade-level words with 80% accuracy in 6 months
Experts recommend SMART goals for better results.
https://www.understood.org/en/articles/what-is-an-iep
Step 7: Decide Services and Support
Next, decide what support your child needs.
This may include:
- Speech therapy
- Occupational therapy
- Special education support
Each service should match your child’s goals.
Step 8: Choose Accommodations
Accommodations help your child learn better.
Examples:
- Extra time on tests
- Visual aids
- Breaks during tasks
👉 These do not change what is taught. They change how it is taught.
Step 9: Decide Placement
Placement means where your child will learn.
Options include:
- General classroom
- Special education classroom
The goal is the least restrictive environment (LRE).
Step 10: Review and Approve the IEP
Before signing:
✔ Read everything carefully
✔ Ask questions
✔ Request changes if needed
You can take the document home to review.
Step 11: Start Implementation
Once approved, the school will start the IEP.
Teachers and therapists will follow the plan.
Step 12: Monitor Progress
Track your child’s progress regularly.
Look at:
- Reports
- Feedback
- Behavior changes
IEP progress should be reviewed regularly.
Step 13: Review the IEP Annually
IEPs are reviewed at least once a year.
During review:
- Goals are updated
- Services may change
Simple IEP Creation Checklist for Parents
✔ Identify concerns
✔ Request evaluation
✔ Review results
✔ Confirm eligibility
✔ Attend meeting
✔ Set goals
✔ Choose services
✔ Approve plan
✔ Monitor progress
Example of an IEP Goal (Simple)
Goal:
By the end of 6 months, the student will read simple sentences with 80% accuracy in 4 out of 5 trials.
Tips for Parents Creating an IEP
✔ Stay Organized
Keep all documents in one place.
✔ Ask Questions
Never hesitate to ask.
✔ Be Involved
Your input is valuable.
✔ Focus on Your Child’s Needs
Every child is different.
✔ Communicate Regularly
Stay in touch with teachers.
Common Mistakes to Avoid
Avoid these mistakes:
❌ Not preparing for meetings
❌ Accepting unclear goals
❌ Ignoring progress tracking
❌ Feeling pressured to agree
Instead:
✔ Take your time
✔ Be confident
Real-Life Example
Neha noticed her child struggling in school.
She:
- Requested an evaluation
- Attended the IEP meeting
- Set clear goals
Within months:
✔ Her child improved in reading
✔ Confidence increased
Benefits of Following a Step-by-Step IEP Process
A structured approach helps you:
- Stay organized
- Reduce stress
- Make better decisions
Most importantly:
👉 It ensures your child gets the right support.
Expert Insights
Experts agree that:
👉 Early intervention and clear planning improve outcomes.
Parents who actively participate in IEP meetings often see better progress.
FAQs: How to Create an IEP Step by Step Guide
1. Who can request an IEP?
Parents or teachers can request an evaluation.
2. How long does the IEP process take?
It depends on the school system. Usually a few weeks.
3. Can I refuse an IEP?
Yes. Parents have the right to accept or decline.
4. Can an IEP be changed?
Yes. It can be updated anytime.
5. Is an IEP only for autism?
No. It is for various learning and developmental needs.
Final Thoughts
Now you understand how to create an IEP step by step guide.
Remember:
👉 Start early
👉 Stay involved
👉 Focus on clear goals
An IEP is not just a document. It is a powerful tool to support your child’s future.

